Showing posts with label Mystery Quilt. Show all posts

Thursday, 16 June 2016

Mystery Quilt Finished

Last year some of the students in my Begginners Patchwork & Quilting class at Tudor Rose Patchwork took on the mystery quilt challenge.

On Tuesday we were wowed by Lynns wonderful quilt.


Her choice of fabrics gives the quilt a lovely fresh feel and her quilting is beautiful adding texture to the large triangle corners


I will be renaming this quilt when the pattern is released to "Keswick Quilt"

I will post as soon as it is available.

Bev


Thursday, 26 March 2015

Thursday catch up

 My mother has been visiting for a few days, and whilst I have been teaching she has been busy in the studio basting quilts and preparing her next project. This was the first time she had seen the new studio and was thrilled with the space which made layering the quilts up so much easier.


It was also her birthday and I gave her a crazy patchwork shopping bag. One side with lots of embellishment and the other in stained glass patchwork.


Cherry has sent me a photo of her finished mystery quilt,


And Marilyn has finished her quilt top with triple borders. 
Aren't they great.


Lynne showed me these fabulous fabrics yesterday which she has chosen for her mystery quilt. 
I can't wait to see the finished quilt.


My mother also brought with her her first quilt which she started in January 2014. She has only just taken up patchwork and her quilt is fantastic. I have persuaded her to enter it in the 'First Quilt' category as there will never be another 'First quilt'.
As she is entering The Festival of Quilts in August, I think I should too, so have just started my entry. I can't show you pictures yet as it is still at a very early stage in the design. I know I haven't given myself much time but I am hopeful to get it done. I will keep you posted.

Happy sewing
Bev

Monday, 16 March 2015

Mystery Quilt - And finally

The mystery quilt blocks are quite a large size (18.5") which is perfect for cushion covers.
As promised here is the simple cushion cover construction I mentioned last week

The patchwork block has been quilted and squared. Also I have sewn the layers together so that it is easier to finish.

For the back of the cushion I cut two pieces of fabric 18.5" by 12.5"


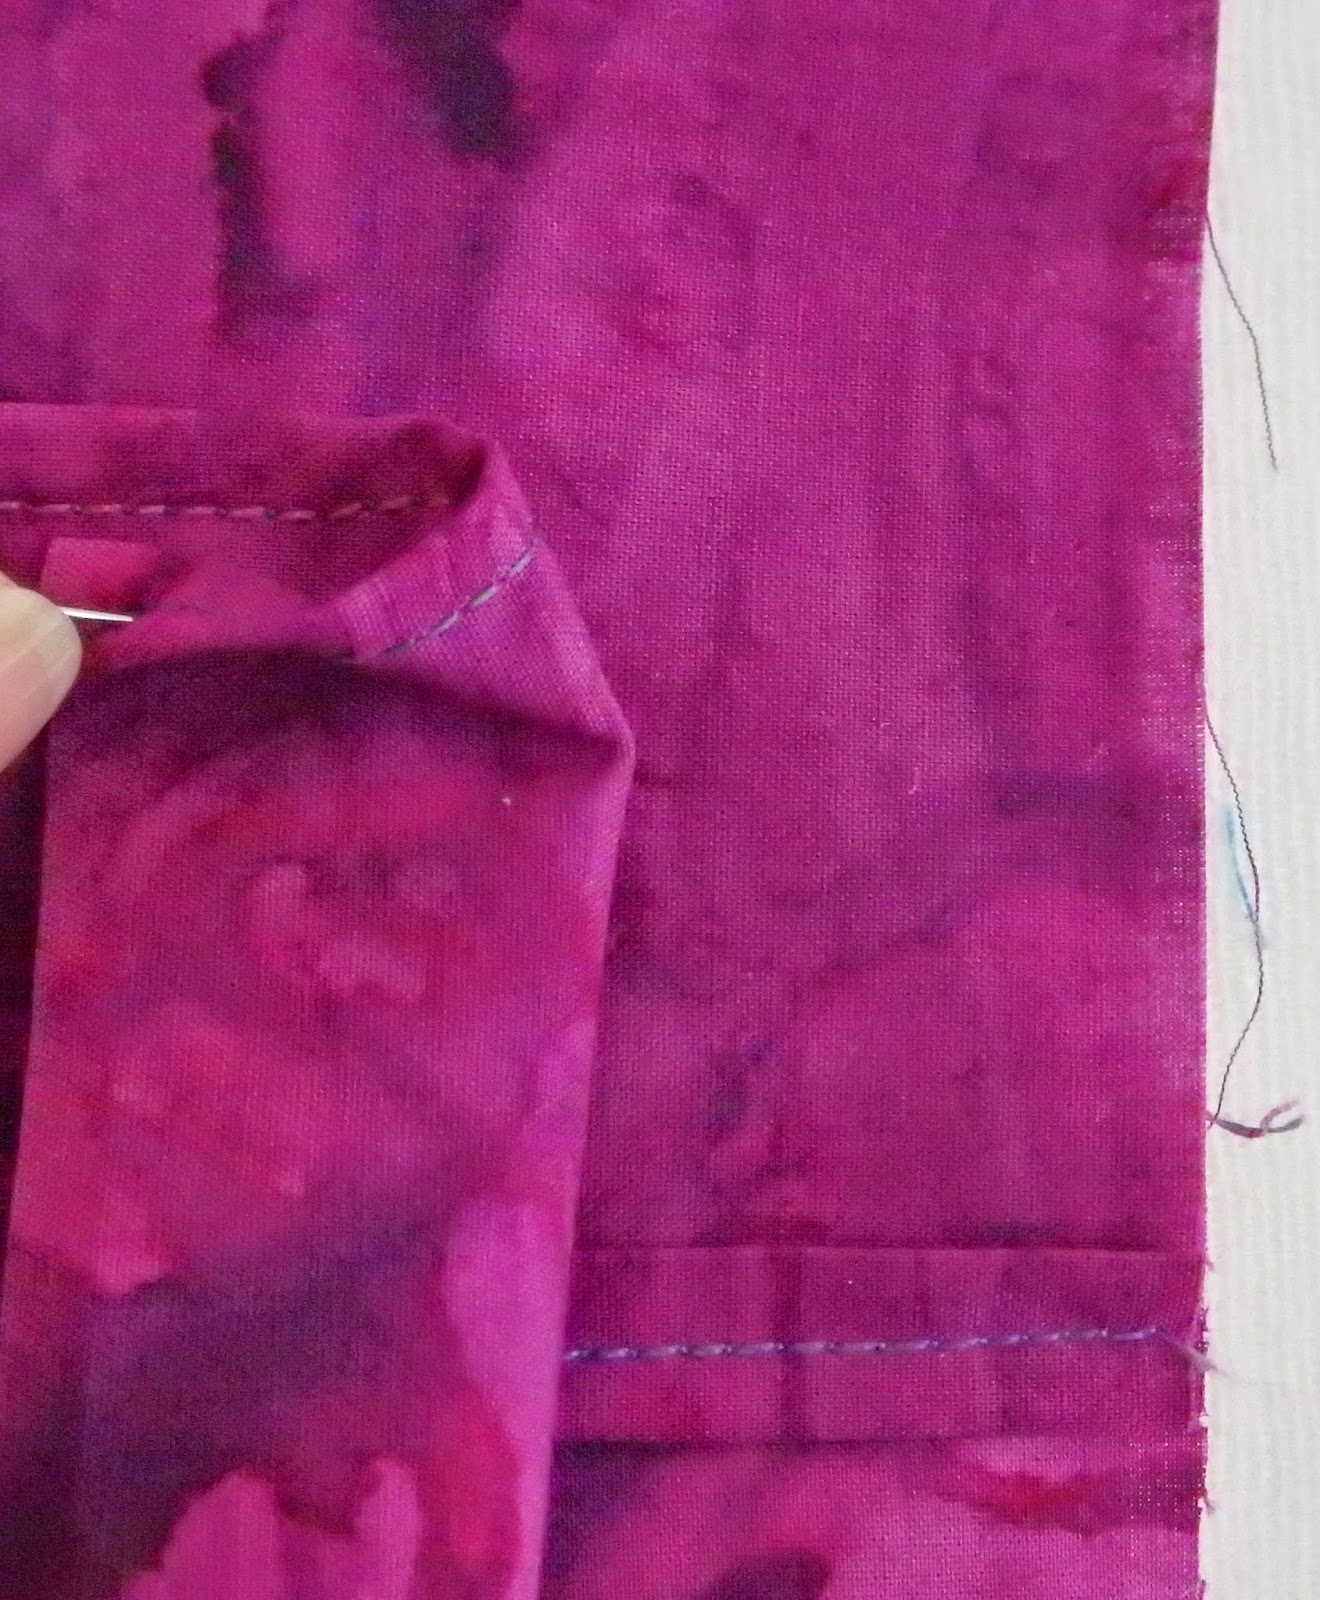
On both pieces of fabric -  neaten one edge, by folding the fabric half and inch over to the wrong side on one of the 18.5" sides, and fold over again. Press and stitch this edge.


Place one of the backing fabric pieces right side together on one side of the quilted block.


Overlap the second piece of fabric to make a simple opening on the back.

Stitch all round the edge of the cushion cover.
Turn the rightside out and add a cushion pad
Place in your favourite spot and enjoy.


Here are some more photos of mystery quilts in progress. 

Cherry has made hers larger and added the borders. She has also told me that she is now quilting it. It is looking fabulous


Marilyn has created these stunning blocks and has nearly finished piecing the quilt. 


I love seeing your work. If you would like to share your quilt on the blog you can message your photos via my Facebook page. ( link below)


Anne from Tudor Rose brought in the chicken she made ( from some very sketchy instructions I gave her ) Despite my poor effort with the instructions she has made this wonderful Easter Chicken all ready to be filled with Easter Eggs.


Isn't he great.

Bev 

Monday, 9 March 2015

Mystery Quilt - Step 5

The blocks for the quilt are now taking shape so this week it is time to finish the quilt top.

A                            B                            C


1. Take a 10.5" square and cut in half along a diagonal to make two right angle triangles.
Position one pair on each side of the block made last week. Line up the centre of the block and the centre of the long side of the triangle. The trianges are larger than the block as shown. 
Sew in place and press open. 


2.  Trim the excess away as shown below.
Take another 10.5" square and cut in half along the diagonal as before. Position on  the other two sides of the block. Centre as before and sew in place. Press open.


3. Repeat to make the other 4 off set blocks ( 5 in total )


4.Take the four blocks made in Step 3


and arrange them with the offset blocks as shown below.
Sew them together and press open. (54.5" x 54.5")


The quilt top is now ready for borders. The borders can be to a depth of your own choosing but I have added tips on adding the borders.

You may find that one side of your quilt is larger than the other. This needs to be rectified now as if you add borders of different lengths the difference is multiplied and the quilt becomes skewed.

Add borders to opposite sides as you did when adding the corners to the block earlier. 

Measure opposite sides of your quilt top. 
Take an average measurement of the two sides, and cut two borders of your chosen width to this measurement.

Pin at each end of one side and at the centre of the border and block panel. 
Ease between the pins and pin in place. Repeat on the opposite side and sew the first two borders in place. Press open.

Now you will have to measure the other two sides as the quilt has increased by the depth of your borders. Again take an average measurement. 
Pin at the ends of the borders and the centre as before. Ease between the pins and pin in place. Sew and press open.

Your quilt top is now ready for your favourite batting and quilting.


I have just taken a quick photo of the quilt as I was basting it this morning

Cherry has also sent me a photo of her block from last week. Isn't it great.


Next week I will show you the simple cushion construction.

Bev


Monday, 2 March 2015

Mystery Quilt - Step 4

The Mystery quilt is starting to take shape with one of the large blocks completed last week. This week we are going to start constructing the second block.


A                   B                     C

For this you will need the 2.5" half square triangles units, and the 2.5" squares of fabric B

1. Take a fabric C half square triangle and a fabric B half square triangle and position as shown. Sew together with a scant 1/4" seam.


2. Take a fabric B half square triangle and a 2.5" fabric C square and position as shown below. Again sew together with a scant 1/4" seam.


3. Press the seams in opposite directions so that they will lock together


4. Place these new units as shown so that all the half square triangle as facing the same way. Lock the centre seam together and sew with a scant 1/4 " seam to make the corner units of the block.


5. Repeat these steps to make the rest of the corner units ( 20 in total )

6.  Now take one of the flying geese units and two of the corner units and position as shown. Sew together using a scant 1/4" seam. Repeat to make 10 of these units.


7. Now take two of the flying geese units and one of the 4.5" fabric C squares. Position as shown with the flying geese facing out from the centre square. Sew together to make the centre strip of the block. Repeat to make 5 in total.


8. This is now starting to look like a nine patch block construction.
Take two of the corner strips and one of the centre strips and position as shown.


9. Sew the strips together to make the centre of the block. Repeat to make 5 in total.


Next week we will complete the construction of this block and start getting the quilt top together.

Cherry sent me a photo of the block she completed last week. Doesn't it look lovely.


See you next week

Bev

Monday, 23 February 2015

Mystery Quilt - Step 3


Today, let's make a complete block


A                B                 C


We are going to take the 6.5" half square triangle blocks and the 2.5" x 18.5" strips to make this larger scale block. There are 4 of them in my finished quilt
Use scant 1/4 " seams to sew all the units together


1. Take 6 of the 6.5" half square triangle blocks and position as shown.

Strip 1                  Strip 2

2. Sew the half square triangles together to make the two mirrored 18" x 6.5" units as shown below.


3.  Take the 18.5" x 2.5" strips in fabrics B and C  and position as shown. Sew together to make a the 18.5 x 6.5 unit shown below.


4. Now to construct the block. Take the two half square triangle strips and place on either side ot the 18.5 x 6.5" strip. Fabric A triangle is next to fabric C.


Sew together to make the finished 18.5" x 18.5" block
Repeat to make the other 3 blocks


This is a good size for a cushion cover and I will post instructions for a simple cushion construction in a couple of weeks.


It is lovely that some of you are piecing along with me. These are some fabric choices I have been shown and I can't wait to see the finished quilts. 

Cherry

Marilyn


See you next week
Bev

Monday, 16 February 2015

Mystery Quilt 1 - Step 2


This week we are going to construct the flying geese units

A                          B                        C

1. Take two 2.5" Fabric A squares and one of the Fabric B 2.5" x 4.5" rectangles. 
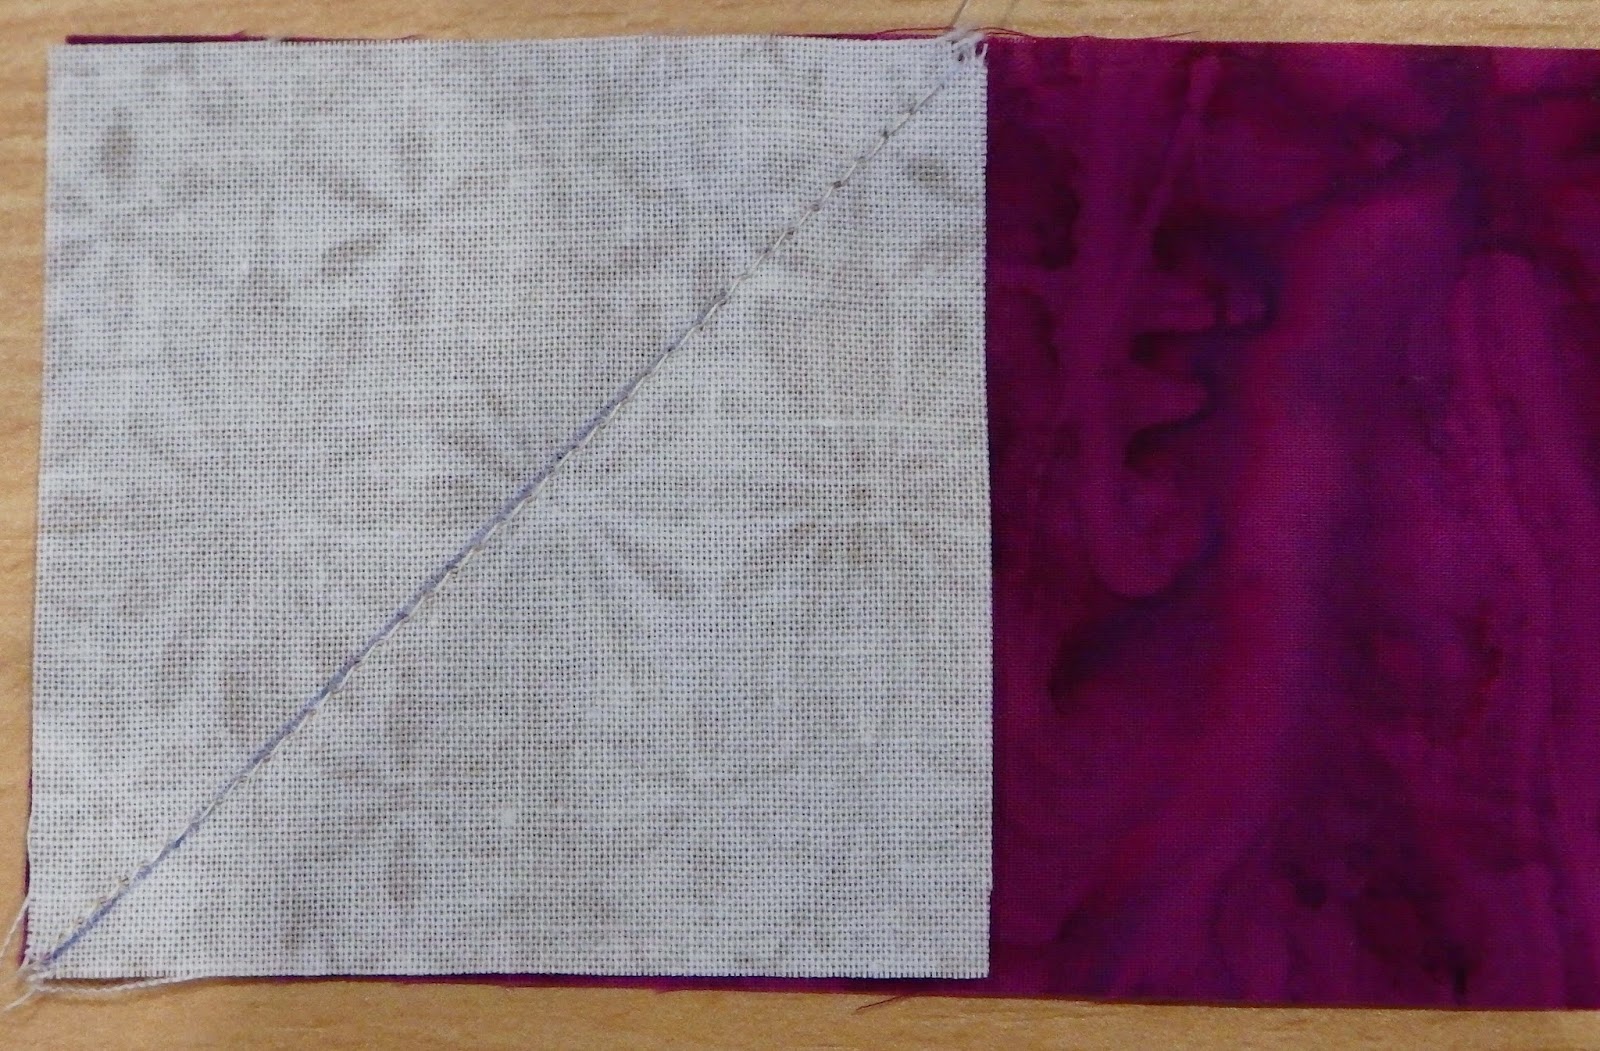
    Mark one diagonal on the wrong side of the fabric A squares. 


2.  Take one of the Fabric A squares and place it right side to right side onto one end of the Fabric B rectangle as shown.


3. Stitch along the marked diagonal line


4.  Trim a 1/4" seam allowance and press the corner out.


5.  Place the other Fabric A square right side to right side on the other end of the Fabric B rectangle


6. Stitch along the marked diagonal line as before. Trim a 1/4" seam 


7.   Press open 


8. Take another Fabric B rectangle and position as shown. It is going to sit above the point of the triangle


9. With right sides together, stitch in place to make a 4.5" x 4.5" square


10.  Repeat with the remaining 2.5" Fabric A squares and 2.5" x 4.5" Fabric B rectangles to make a total of 20 of these flying geese units.

See you next Monday for the part 3 of the quilt instructions. 

Bev