Monday, 2 March 2015

Mystery Quilt - Step 4

The Mystery quilt is starting to take shape with one of the large blocks completed last week. This week we are going to start constructing the second block.


A                   B                     C

For this you will need the 2.5" half square triangles units, and the 2.5" squares of fabric B

1. Take a fabric C half square triangle and a fabric B half square triangle and position as shown. Sew together with a scant 1/4" seam.


2. Take a fabric B half square triangle and a 2.5" fabric C square and position as shown below. Again sew together with a scant 1/4" seam.


3. Press the seams in opposite directions so that they will lock together


4. Place these new units as shown so that all the half square triangle as facing the same way. Lock the centre seam together and sew with a scant 1/4 " seam to make the corner units of the block.


5. Repeat these steps to make the rest of the corner units ( 20 in total )

6.  Now take one of the flying geese units and two of the corner units and position as shown. Sew together using a scant 1/4" seam. Repeat to make 10 of these units.


7. Now take two of the flying geese units and one of the 4.5" fabric C squares. Position as shown with the flying geese facing out from the centre square. Sew together to make the centre strip of the block. Repeat to make 5 in total.


8. This is now starting to look like a nine patch block construction.
Take two of the corner strips and one of the centre strips and position as shown.


9. Sew the strips together to make the centre of the block. Repeat to make 5 in total.


Next week we will complete the construction of this block and start getting the quilt top together.

Cherry sent me a photo of the block she completed last week. Doesn't it look lovely.


See you next week

Bev

Monday, 23 February 2015

Mystery Quilt - Step 3


Today, let's make a complete block


A                B                 C


We are going to take the 6.5" half square triangle blocks and the 2.5" x 18.5" strips to make this larger scale block. There are 4 of them in my finished quilt
Use scant 1/4 " seams to sew all the units together


1. Take 6 of the 6.5" half square triangle blocks and position as shown.

Strip 1                  Strip 2

2. Sew the half square triangles together to make the two mirrored 18" x 6.5" units as shown below.


3.  Take the 18.5" x 2.5" strips in fabrics B and C  and position as shown. Sew together to make a the 18.5 x 6.5 unit shown below.


4. Now to construct the block. Take the two half square triangle strips and place on either side ot the 18.5 x 6.5" strip. Fabric A triangle is next to fabric C.


Sew together to make the finished 18.5" x 18.5" block
Repeat to make the other 3 blocks


This is a good size for a cushion cover and I will post instructions for a simple cushion construction in a couple of weeks.


It is lovely that some of you are piecing along with me. These are some fabric choices I have been shown and I can't wait to see the finished quilts. 

Cherry

Marilyn


See you next week
Bev

Monday, 16 February 2015

Mystery Quilt 1 - Step 2


This week we are going to construct the flying geese units

A                          B                        C

1. Take two 2.5" Fabric A squares and one of the Fabric B 2.5" x 4.5" rectangles. 
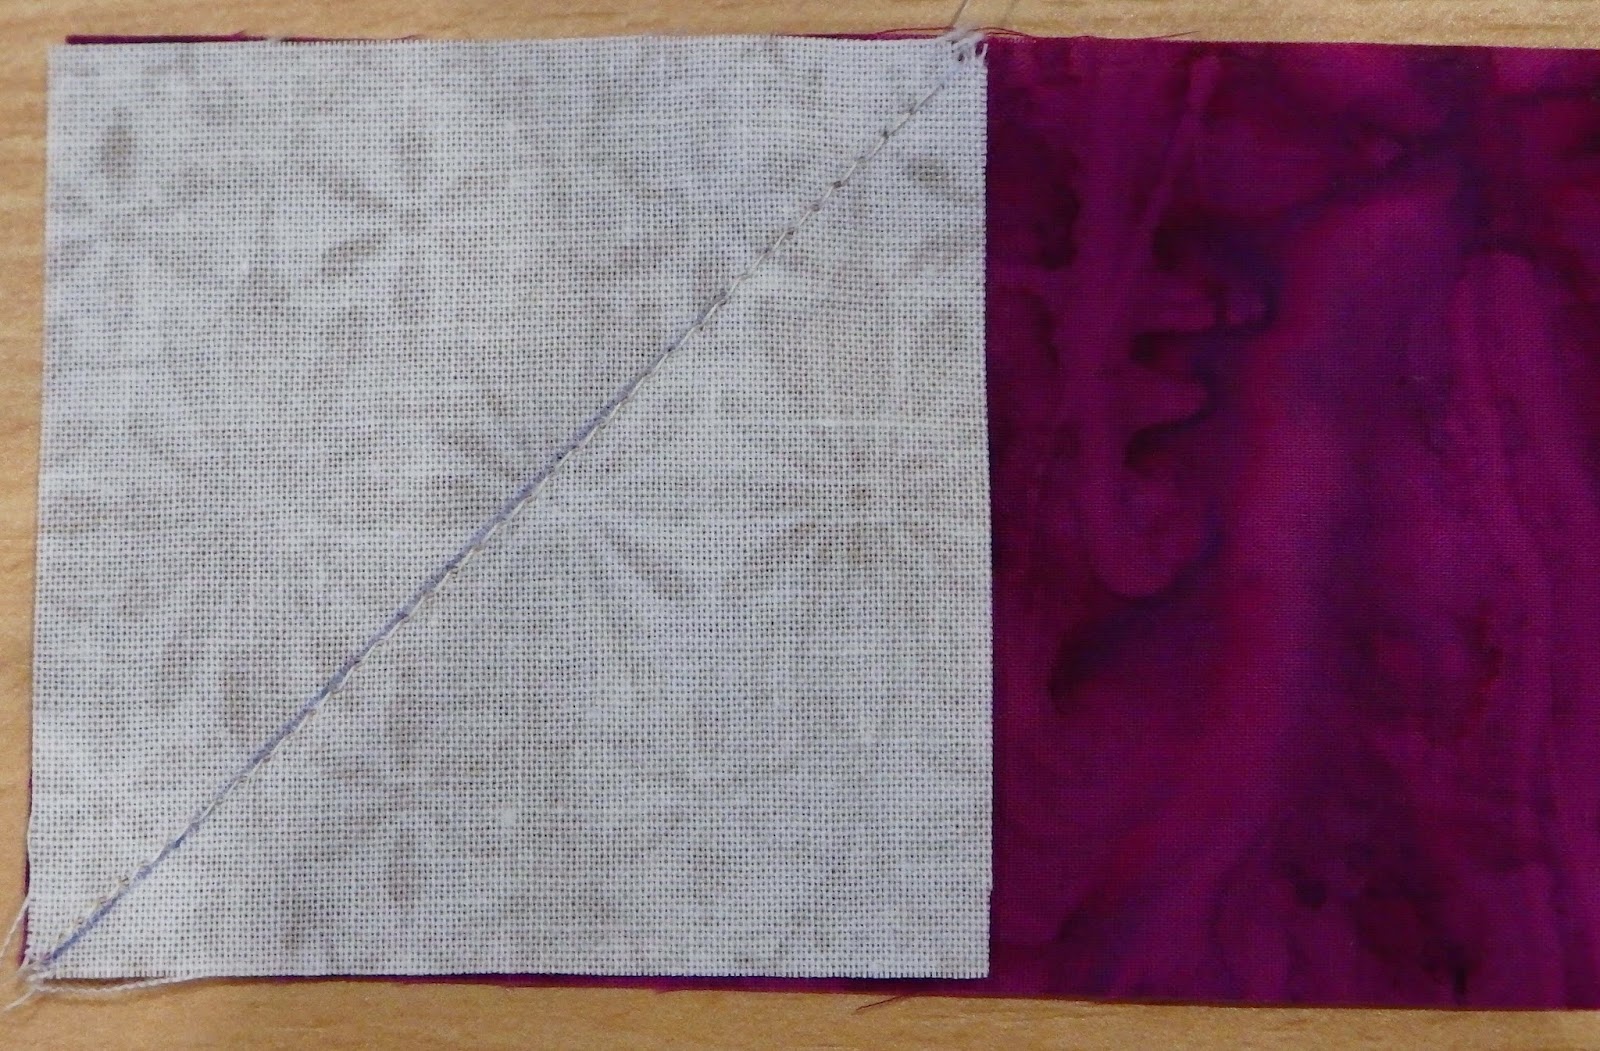
    Mark one diagonal on the wrong side of the fabric A squares. 


2.  Take one of the Fabric A squares and place it right side to right side onto one end of the Fabric B rectangle as shown.


3. Stitch along the marked diagonal line


4.  Trim a 1/4" seam allowance and press the corner out.


5.  Place the other Fabric A square right side to right side on the other end of the Fabric B rectangle


6. Stitch along the marked diagonal line as before. Trim a 1/4" seam 


7.   Press open 


8. Take another Fabric B rectangle and position as shown. It is going to sit above the point of the triangle


9. With right sides together, stitch in place to make a 4.5" x 4.5" square


10.  Repeat with the remaining 2.5" Fabric A squares and 2.5" x 4.5" Fabric B rectangles to make a total of 20 of these flying geese units.

See you next Monday for the part 3 of the quilt instructions. 

Bev


Saturday, 14 February 2015

Colouricious Competition

Colouricious Competition.


I was looking for some printing blocks and found this wonderful opportunity to wint a fabulous textile holiday with Colouricious.

So now the only choice is which block set to buy.

Bev

Thursday, 12 February 2015

A Student Showcase.

It has been wonderful to help my Beginners classes at Tudor Rose achieve their goals. They have been very busy over the last year and many projects were completed. This is just a small sample of work they have done or are currently working on.


Aren't they wonderful.
I can't wait to see what this year brings and the challenges they throw at me.

Bev

Monday, 9 February 2015

Mystery Quilt 1 - Step 1

Today it is time to make a start on the mystery quilt.

The first step is to make the half square triangle units from the 3"  and the 7" squares

A                     B                   C         


1. Mark one diagonal line on the wrong side of all fabric A, 3" and 7", squares. 
I have used a Frixion pen which disappears when ironed but any fabric marking pen or chalk will work just as well.


2. Place Fabric A onto the same size squares of fabrics B and C with the right sides facing each other. Pin in place.


3.  Using the marked diagonal line as a guide stitch a scant 1/4" seam on either side of it. You can see the effect on the wrong side of the darker fabric better as I have used a neutral thread.


4.  Cut along the marked diagonal line to make two right angled triangles with the stitched edge along the long side. Press the squares open to form the half square triangle units 

These will be larger than the 2.5" and 6.5" required so will need trimming back.

I know that for half square triangles the magic number to add is 7/8ths of an inch ( for a finished size of 2" the starting square should be 2 7/8" ) However I find that adding a little bit extra to the starting square and squaring up gives me more accuracy, as sometimes my scant 1/4" seams are not quite there.


 5. Using the 45 degree line on your ruler, square the half square triangle units to 2.5" and 6.5" 


6.   The 2.5" half square units will have a finished size of 2" when they are added into the pattern, and the 6.5" half square triangle units will have a finished size of 6" 


See you next Monday for the second step

Bev

Sunday, 8 February 2015

Goldwork and Felt - A day out in Ely

We have just had a lovely day in Ely, Cambridgeshire. 
Firstly we stumbled upon a wonderful little restaurant for lunch called The Old Fire Engine House , which serves very tasty food using local produce. Fantastic.


I don't know if I should be recommending it or just keeping this hidden gem to myself. What made it even better was the exhibition of art by Lyz Gardner and Katrina Wilkie. Beautiful vibrant pieces evoking the spirit of the landscape.


From there we walked down to the Cathedral, which has the most spectacular octogon tower.


This month there is a beautiful exhibition of Ecclesiastical embroidery by the Royal School of Needlework. There are wonderful Goldwork embroideries on display and also a small piece of stumpwork and whitework. The half finished samplers are very interesting as you can see how the embroidery was stitched in more detail.


(These pictures have been taken of the catalogue.)

Student work from Kings Ely was also on display in the Cathedral, and it showed a high level of skill in the garments they had produced. 

We decided to save going to the Stained Glass Museum for another trip to this wonderful Cathedral and went in search of the Craft and Collectables Market. Here my husband spotted Mary Gostelow's fabulous book of Embroidery for the bargain price of £6.50  - lots of wonderful embroidery techniques from around the world for me to peruse.


Finally on the way back to the car my eye was caught by some vibrant handmade felt garments and bags in the window of The Handmade Hotspot   a shop and gallery selling work by local artists and designers. Just the place for a unique gift.

All in all a grand day out

Bev