Friday 31 January 2014

Crazy Patchwork Cushion

As I was making the panel I decided to turn a simple cushion cover into something unique with it.

I hope you like the finished effect.


I'm going to leave it there for a few days but I am already thinking that I may embroider down the sides of the panel.

What do you think?

Bev


Thursday 30 January 2014

Nearly There

 It's a miserable day out there so just right for putting the radio on and finishing the embroidered panel.

This is where I am at now and I'll see how far I get by the end of the day.
(I'm afraid the artificial lighting does nothing for the colours )


Let's see if I can finish it

Bev

Sunday 26 January 2014

Melinda Berkowicz

Melinda Berkowicz is a member of EAST Textile group, who will be exhibiting at the Knitting and Stitching shows later this year

She brought her wonderful textiles to my local branch of the Embroiderers' Guild yesterday, and what a wonderful speaker she is. Her work is very inspiring and already I am looking forward to her workshop later in the year. 

Melinda has taken inspiration from her time in both Australia and Israel, along with a strong sense of family history to weave  (sometimes literally) works of art which have a strong narrative element. 

She was kind enough to allow me to share some of the pieces with you on my blog.


Australian inspired pieces using natural materials, hand made papers ane silk


Beautiful pieces, hiding and protecting rich embroideries behind encrusted doors.


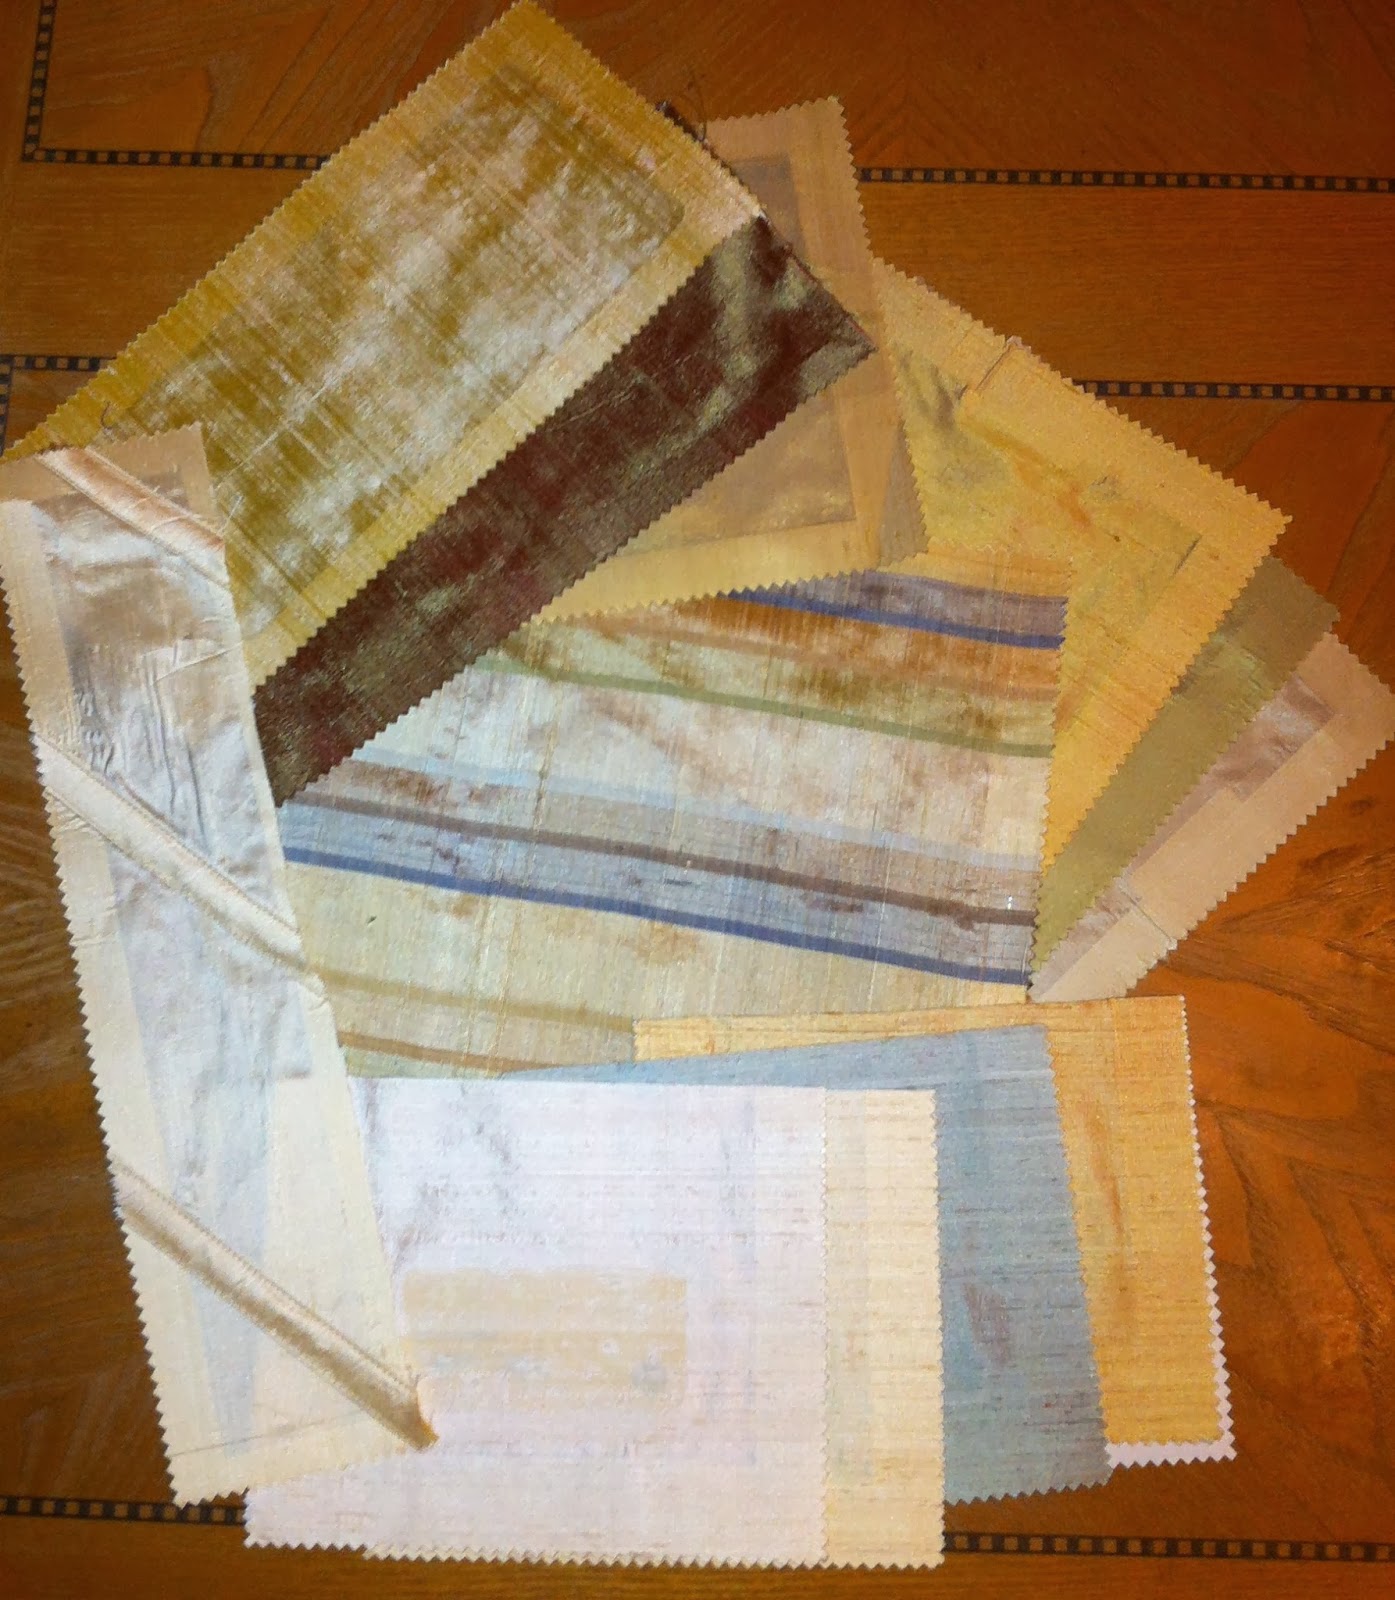
Hand painted silk is evident in all her work, richly encrusted or over printed.


Small shells from Lake Kineret - The Sea of Galilee - found during a long period of drought entombed in acrylic tubes. 


Silk entombed in acrylic tubes 


And wrapped round acrylic rods


And wonderful weaving, all show what a versatile artist she is.

I hope you enjoyed the mini gallery of her work.
Don't forget to visit EAST for even more inspiration

Bev


Saturday 25 January 2014

A Good Start

A quick update as I am off to the Embroiderers Guild meeting soon.

I made a good start on the panel yesterday and wanted to share them with you.
I took the photos last night so the colours have been affected by the artificial light.


Hope you enjoy them

Bev

Friday 24 January 2014

Crazy Patchwork and a Delivery

Yesterday I took apart an old sample book of wonderful silks and started to play with them for a crazy patchwork panel

Then came the fun of delving into all my trimings, beads and buttons


Today the panel is starting to take shape 


and then came a delivery from Art from the Heart which was beautifully wrapped with tissue string and this lovely little heart, which matches the scheme beautifully.


However after tacking all the pieces in place I am thinking that this panel will just be embellished with stitch and all the trimmings will have to wait for the next one. 


BUT that's the fun of crazy patchwork. Things develop and change as you go. So I will have to see how I feel after an afternoon stitching.

Bev

Wednesday 22 January 2014

Looking forward to Easter

With frost on the ground yesterday I decided to look forward to Easter with this Easter Egg decoration.


To make a single 4 faced mobile as above you will need

4 oval paper templates
2 contrasting fabrics (cotton quilting fabric used in the example)
Small beads to match the fabric  - approx 10 of each colour
Tassel
Cotton perle thread to make hanging loop
Sewing thread to match the fabric and contrasting for tacking ( basting)
Fine needle - Sharps or beading. The needle must be able to go through the beads.
Sharp or Crewel needle for the perle thread.


1.  Place the templates on the wrong side of the fabric, 2 templates o each piece of fabric, secure with pins.
  Cut the shape out with a 1/4 inch ( 5mm) seam allowance.


2.   Fold the fabric edge over the paper template, ensuring that the fabric is folded at the edge of the paper.  Tack (baste) round the edge of the shape like English Paper Piecing,  making a patch. You can snip the curves but I have just eased the fabric round them, the gathers don't effect the final decoration.


3. Fold the patches in half, right sides together.

With the wrong sides together, place two templates together, matching the edges and the fold, pin one side together.


4. Thread a fine needle - it must be able to pass through the beads you have chosen - with the thread which matches the fabric. Use the thread double and knot the ends together.
    Secure the thread on the inside edge of the  of the shapes near the fold. Bring the thread out at the fold line. The knot will be hidden inside the decoration.


5. Hold the pinned side and work a stitch across the edge of both templates, repeat this stitch to form an overstitch. This step will be called overstitch 


6.  Repeat the overstitch, leaving a space between them, which makes an attractive zigzag  stitched edge. The example has approximately 5mm gaps along the pinned edge. 


7. Add a bead by working the first part of the next overstitch, thread a bead onto your needle and work the second part of the overstitch. Beaded Overstitch


8.  Repeat the overstitch and beaded overstitch around the first half.


9. Pin the next template in place and work in the same way as the first. TIP hold the first side next to the one you are sewing to place the beads in the same place.


10.  Repeat to add the final template. 3 sides should now be stitched together and beaded.


11. Thread the crewel needle with the perle thread, knot the end it again will be hidden inside the decoration. Stitch at the center fold line , make a hanging loop, ( a larger bead can be added here ). Stitch back to the inside and straight to the opposite end. Stitch the tasssel in place, knot the thread on the inside.


12. Stitch the final side together as before and remove the tacking threads. Open the sides, hang up and admire.


Bev

Sunday 19 January 2014

A quick trip to Keswick

My mother recently joined the University of the Third Age  - the  U3A  , and she announced that she was taking up patchwork and quilting. I was delighted to hear this until she said that she was getting ready to cut out some squares with scissors, which she had marked using a rular and pencil. An early birthday present was called for so laden with cutting mat, rular and rotary cutter I headed north.

For this quick visit we concentrated on cutting accurately and sewing a log cabin patch. 
This is the start of her first log cabin quilt


I think it is wonderful and I hope you do too

Bev

Friday 17 January 2014

Hand Embroidery

Yesterday was another teaching day, this time at Bee Crafty at Ellington. 
I hadn't been to Bee carfty for a while and it was lovely to be back there with a new class, the hand embroidery City & Guilds course.


Much concentrating was going on, learning new stitches.

The ladies were all wonderful and I am looking forward to the next lesson with them.

Bev